

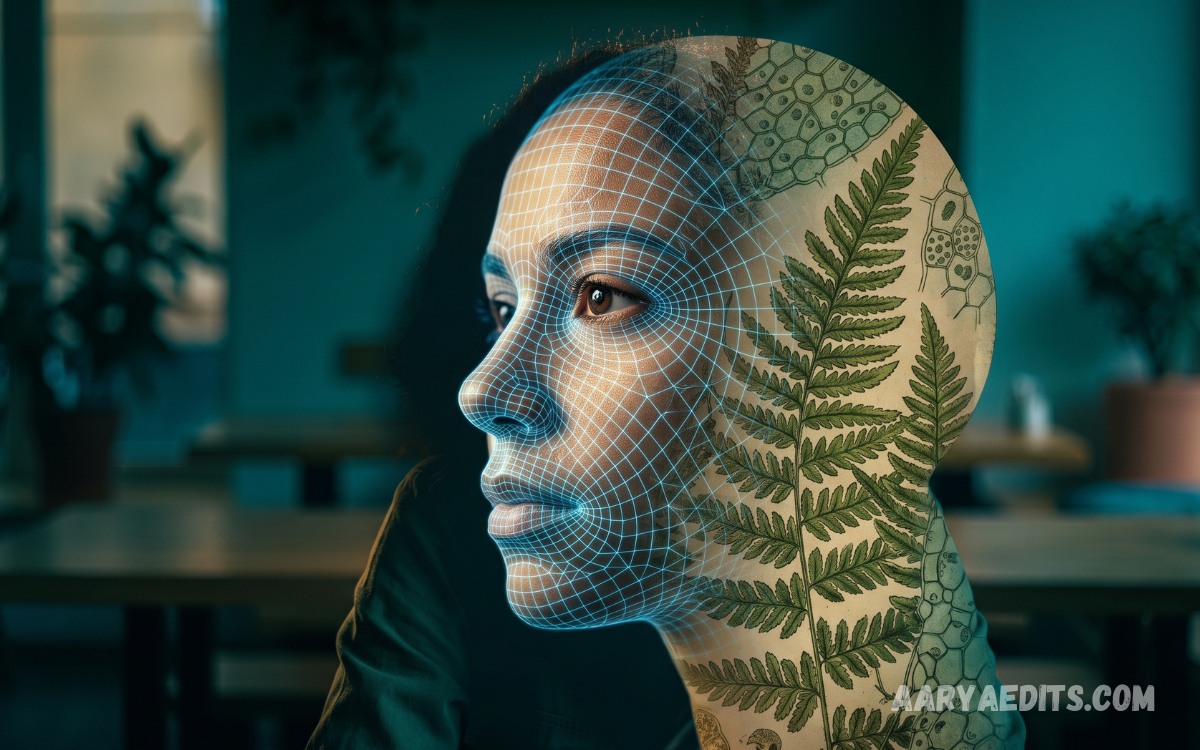
Portrait editing is the process of improving a photograph while preserving the subject’s natural appearance, personality, and expression. A professional approach focuses on minimizing distractions, enhancing key facial features, balancing lighting, and creating a polished image without making the person look artificial.
The Expert Guide to Portrait Editing begins with understanding that great editing is not about applying the strongest effect. It is about making thoughtful adjustments that complement the original photograph. Good portrait editing should make viewers notice the person first, not the editing itself.
Start With a High-Quality Portrait
The quality of the original photograph has a major impact on the final result. A sharp image with balanced exposure, clear facial details, and suitable lighting provides much more flexibility during editing than a heavily underexposed or blurry photograph.
Before making adjustments, examine the image carefully. Check focus, exposure, shadows, highlights, skin texture, background distractions, and facial details. Starting with a strong photograph makes the entire editing process faster and produces more professional results.
Correct Exposure and Lighting
Lighting correction should usually be one of the first editing steps. Adjust exposure carefully so the face is clearly visible while preserving important highlights and maintaining realistic shadows throughout the portrait.
Use contrast, highlights, shadows, whites, and blacks to create balance. Avoid making the face overly bright or removing every shadow, as natural shadows provide depth and dimension. Professional portraits generally look better when lighting remains believable.
Improve Skin Without Removing Texture
Skin retouching is one of the most important parts of portrait editing, but it should always be handled carefully. Small temporary imperfections can be reduced, while natural characteristics such as pores, freckles, and subtle skin texture should generally remain visible.
Over-smoothing can make a person appear plastic or unrealistic. A professional result comes from reducing distractions rather than completely changing the skin. Use subtle adjustments and regularly compare the edited version with the original.
Enhance Eyes Naturally
The eyes often attract immediate attention in a portrait, so small improvements can make a significant difference. Carefully increase clarity, sharpness, or brightness around the eyes while maintaining their original color and shape.
Avoid excessive whitening or sharpening, as they can create an unnatural appearance. The goal is to make the eyes appear clear and expressive without looking artificially enhanced.
Refine Hair and Facial Details
Hair can contain flyaways, uneven areas, or distracting strands that affect the overall appearance of a portrait. Selective cleanup can make the hairstyle look more polished while keeping its natural volume and movement.
Facial details such as eyebrows, eyelashes, lips, and facial hair can also benefit from subtle adjustments. These areas should be enhanced carefully, as aggressive editing can quickly alter the subject’s identity or expression.
Balance Skin Tone and Color
Color correction helps create consistency across the face, neck, hands, and other visible skin areas. Different lighting sources can produce unwanted yellow, red, green, or blue tones that need gentle correction.
When adjusting skin color, avoid chasing a completely uniform tone. Real skin naturally contains variations. A better approach is to create a healthy, balanced appearance while preserving the subject’s individual characteristics.
Use Dodge and Burn for Depth
Dodge and burn techniques can help shape the appearance of a portrait through controlled adjustments to brightness. Slightly brightening important areas and darkening selected shadows can add depth without changing the person’s facial structure.
This technique works particularly well around cheekbones, the jawline, nose, forehead, and eyes. The adjustments should remain subtle because excessive dodge and burn can make the face appear harsh or heavily processed.
Improve the Background
A distracting background can reduce the impact of an otherwise excellent portrait. Background editing can involve reducing distractions, adjusting brightness, improving color balance, or creating a softer visual separation between the subject and surroundings.
Keep the background consistent with the purpose of the photograph. A professional portrait may benefit from a clean and subdued background, while lifestyle photography can retain environmental details that provide context.
Create Professional Color Grading
Color grading gives a portrait its final visual character. Warm tones can create a welcoming feeling, while cooler tones may produce a calm or modern appearance. The correct choice depends on the subject, lighting, setting, and intended mood.
Professional color grading should support the photograph rather than overpower it. Strong filters can quickly become distracting, so make gradual adjustments and evaluate the overall image rather than focusing on individual colors.
Read Also: Lightroom Before and After: See the Impact of Professional Photo Editing
Sharpen the Right Areas
Sharpening should be selective rather than applied aggressively to the entire photograph. Important details such as the eyes, eyelashes, hair, and clothing can benefit from controlled sharpness.
Excessive sharpening can emphasize pores, blemishes, noise, and other unwanted details. For that reason, sharpening is often more effective when applied after major color and tonal adjustments have been completed.
Crop and Straighten the Portrait
Composition has a powerful effect on how a portrait is perceived. Cropping can remove unnecessary space, improve visual balance, and direct attention toward the subject’s face and expression.
Straighten the image as needed and consider traditional portrait compositions, such as close-ups, head-and-shoulders framing, or environmental portraits. Avoid cropping important body areas awkwardly unless the composition intentionally calls for it.
Maintain Natural Facial Features
One of the most important principles in professional portrait editing is preserving identity. Facial proportions, expressions, distinctive features, and natural characteristics should not be changed unnecessarily.
Before using reshaping tools, ask whether the adjustment actually improves the photograph. If an edit makes the person look significantly different, it may be better to reduce the effect or remove it entirely.
Remove Distracting Imperfections
Portrait photographs often contain temporary distractions such as small blemishes, dust marks, stray objects, or unwanted spots. Removing these elements can make the image cleaner and more focused.
However, not every imperfection needs to disappear. Permanent features can be part of a person’s identity and should generally be preserved unless the editing project specifically requires otherwise.
Work With Layers and Non-Destructive Adjustments
Non-destructive editing provides greater control because adjustments can be modified or removed without permanently damaging the original photograph. This approach is especially useful when experimenting with color, retouching, lighting, and background changes.
Keep important adjustments separated whenever possible. Organized layers and masks make it easier to fine-tune individual areas and maintain a consistent workflow from the initial correction to the final export.
Review the Portrait at Different Zoom Levels
A portrait can look excellent when viewed closely but appear unnatural at normal viewing size. For this reason, review the photograph at several zoom levels during the editing process.
At high magnification, inspect skin texture, edges, hair, eyes, and retouching marks. At normal size, evaluate the overall expression, lighting, color, and composition. This combination helps identify problems that may otherwise remain hidden.
Avoid Common Portrait Editing Mistakes
Excessive skin smoothing, unnatural eye enhancement, extreme color grading, heavy sharpening, and aggressive face reshaping are common mistakes. These techniques can make an image look obviously edited and reduce its professional quality.
Another mistake is making too many adjustments at once. A controlled workflow is easier to evaluate and correct. Make one meaningful change at a time, compare it with the original, and continue only when the adjustment genuinely improves the photograph.
Build a Consistent Editing Workflow
A reliable workflow saves time and creates more consistent results. Start with basic corrections, continue with skin and facial retouching, refine colors, improve details, adjust the background, and finish with sharpening and export preparation.
Consistency is especially important when editing a collection of portraits. Similar lighting conditions should receive similar treatment so that the photographs look like part of the same professional set.
Frequently Asked Questions
What is portrait editing?
Portrait editing is the process of improving a portrait photograph by adjusting lighting, color, skin tone, details, composition, and other visual elements while preserving the subject’s natural appearance.
What should I edit first in a portrait?
Start with basic corrections such as exposure, white balance, contrast, highlights, and shadows. Once the foundation is balanced, move toward skin, facial details, color grading, and finishing adjustments.
How can I make skin look natural?
Use subtle retouching and preserve realistic skin texture. Remove temporary distractions rather than completely smoothing the face, and frequently compare the edited photograph with the original.
How do I make eyes stand out naturally?
Improve eye clarity and brightness selectively while preserving the original eye color and shape. Avoid excessive sharpening or whitening because these effects can quickly appear artificial.
Should I change facial features during editing?
Facial reshaping should be used sparingly. Professional portrait editing generally aims to enhance the existing photograph rather than significantly change the person’s identity or natural proportions.
How can I improve portrait lighting?
Adjust exposure, highlights, shadows, whites, blacks, and contrast carefully. Local brightness adjustments can also help emphasize important facial areas while maintaining natural depth.
Why does my portrait look over-edited?
An image may look over-edited when effects are too strong or several adjustments are applied without checking the original. Reduce the intensity of retouching, sharpening, color grading, and facial adjustments.
Is background editing important for portraits?
Yes. A distracting background can compete with the subject. Cleaning up distractions, reducing background brightness, or creating subtle separation can make the portrait more focused.
What is the best approach to professional portrait editing?
The best approach is controlled and subtle. Correct technical problems first, improve skin and facial details carefully, balance colors, refine composition, and finish with selective sharpening.
How can I improve my portrait editing skills?
Practice regularly with different lighting conditions and portrait styles. Study before-and-after comparisons, learn how individual adjustments affect the image, and develop a consistent workflow based on natural-looking results.
Conclusion
The Expert Guide to Portrait Editing is ultimately about balance, precision, and restraint. Professional editing does not require dramatic changes; it requires thoughtful corrections that bring out the strongest qualities already present in the photograph.
By improving exposure, refining skin naturally, enhancing eyes, balancing colors, controlling backgrounds, and preserving facial identity, you can create portraits that look polished without appearing artificial.
