

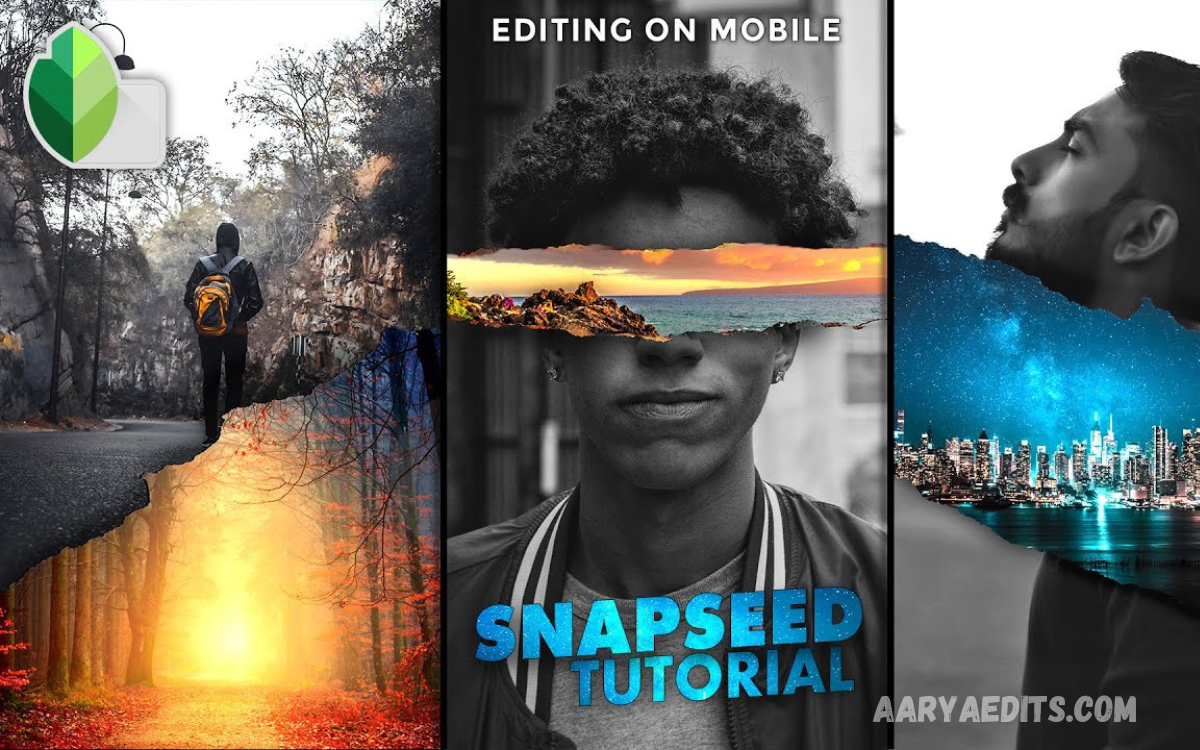
Snapseed is one of the most powerful and beginner-friendly photo editing apps available today. Developed by Google, it offers a wide range of professional editing tools that help you enhance your photos with just a few taps.
Snapseed photo-editing tutorial for beginners, you’ll learn everything you need to get started. We will walk you through the app’s interface, explain the essential editing tools, and show you how to create beautiful, high-quality photos using easy step-by-step instructions.
What is Snapseed?
Snapseed is a free photo editing application available for both Android and iOS devices. It supports JPEG and RAW image editing while offering over 25 professional editing tools.
Unlike many editing apps that lock premium features behind subscriptions, Snapseed gives users access to advanced editing features completely free.
Some major features include:
- Professional color correction
- Selective editing
- Healing tool
- Curves adjustment
- White balance correction
- HDR effects
- Lens Blur
- Portrait enhancement
- Double Exposure
- Text and Frames
These features make Snapseed suitable for beginners, influencers, photographers, bloggers, and business owners.
Why Beginners Should Choose Snapseed?
There are many reasons why Snapseed remains one of the best editing applications.
Completely Free
No monthly subscription.
No hidden charges.
No watermark.
Beginner-Friendly Interface
The app uses a clean interface that makes navigation simple.
Every editing tool includes a preview so users can instantly see changes.
Professional Editing Tools
Unlike simple filter apps, Snapseed includes advanced tools normally found in desktop editing software.
Non-Destructive Editing
Snapseed keeps your original image safe.
You can return and modify previous edits anytime.
Download and Install Snapseed
Installing Snapseed only takes a few minutes.
Android
- Open Google Play Store.
- Search for Snapseed.
- Tap Install.
iPhone
- Open the App Store.
- Search Snapseed.
- Download the application.
After installation:
- Open Snapseed
- Tap the “+” icon
- Select a photo from your gallery
Now you’re ready to edit.
Understanding the Snapseed Interface
When you open a photo, you’ll notice three main sectionsLooks
Contains ready-made filters.
Ideal for quick editing.
Tools
This is where professional editing happens.
You’ll find more than 25 editing options.
Export
Used to save or share edited images.
You can:
- Save
- Export
- Share
- Save Copy
Step-by-Step Snapseed Photo Editing Tutorial for Beginners
Let’s edit a photo using a professional workflow.
Step 1: Crop Your Image
Before adjusting colors, crop the image.
Go to:
Tools → Crop
Choose the desired aspect ratio.
Popular ratios include:
- 1:1
- 4:5
- 16:9
- Free Crop
Cropping improves composition and removes distractions.
Step 2: Rotate if Necessary
Sometimes photos are slightly tilted.
Open:
Tools → Rotate
Straighten the horizon.
A properly aligned image immediately looks more professional.
Step 3: Adjust the Image Using Tune Image
This is the most important tool in Snapseed.
Open:
Tools → Tune Image
You’ll see several editing controls.
Brightness
Makes the image lighter or darker.
Avoid making the photo overly bright.
Contrast
Increases the difference between light and dark areas.
A moderate increase adds depth.
Saturation
Boosts color intensity.
Too much saturation makes photos look unrealistic.
Ambiance
One of Snapseed’s best features.
It balances shadows and highlights while improving detail.
Most beginners love this adjustment.
Highlights
Reduces brightness in bright areas.
Perfect for recovering sky details.
Shadows
Brightens darker parts of the image.
Useful for portraits.
Warmth
Adds warmer or cooler tones.
Use it according to lighting conditions.
Step 4: Improve Details
Open:
Tools → Details
You have two options.
Structure
Enhances texture.
Great for architecture and landscapes.
Avoid overusing it on faces.
Sharpening
Makes images appear clearer.
A small adjustment works best.
Step 5: Correct White Balance
Photos sometimes appear too blue or too yellow.
Open:
Tools → White Balance
Adjust:
- Temperature
- Tint
This makes colors look natural.
Step 6: Remove Unwanted Objects
One of Snapseed’s most powerful features is Healing.
Go to:
Tools → Healing
Zoom into your image.
Tap unwanted objects like:
- Dust spots
- Power lines
- Small people
- Skin blemishes
Snapseed automatically blends surrounding pixels.
Step 7: Enhance Specific Areas
Instead of editing the whole photo, use Selective.
Go to:
Tools → Selective
Tap the area you want to edit.
You can adjust:
- Brightness
- Contrast
- Saturation
- Structure
This creates professional-looking edits.
Read Also: AI Photo Editing Prompt: The Complete Professional Guide to Creating Stunning AI-Enhanced Images
Step 8: Use the Brush Tool
The Brush tool allows local adjustments.
Open:
Tools → Brush
Available brushes include:
- Exposure
- Temperature
- Saturation
- Dodge & Burn
Paint over selected areas with your finger.
This provides greater control.
Step 9: Apply Curves
Curves are popular among professional photographers.
Open:
Tools → Curves
You can:
- Brighten shadows
- Increase contrast
- Create cinematic looks
- Adjust RGB colors
Beginners should start with gentle S-curves.
Step 10: Add Vignette
A vignette darkens the edges of your image.
Go to:
Tools → Vignette
Increase:
- Outer Brightness
- Inner Brightness
This draws attention to your subject.
Step 11: Portrait Editing
Snapseed includes excellent portrait tools.
Use:
Tools → Portrait
You can:
- Smooth skin
- Brighten faces
- Improve lighting
Keep adjustments natural.
Over-editing makes portraits look fake.
Step 12: Add Drama (Optional)
For landscape photography:
Open:
Tools → Drama
It enhances:
- Clouds
- Texture
- Contrast
Use this effect moderately.
Step 13: Lens Blur
Create DSLR-like background blur.
Go to:
Tools → Lens Blur
Adjust:
- Blur Strength
- Transition
- Vignette
Ideal for portraits.
Step 14: HDR Scape
HDR increases detail.
Perfect for:
- Buildings
- Nature
- Mountains
Avoid excessive HDR because it can look unrealistic.
Step 15: Export Your Photo
After finishing your edit:
Tap Export.
Options include:
- Save
- Save Copy
- Export
- Share
For maximum quality, choose Export.
Best Snapseed Editing Workflow
Professional editors usually follow this sequence:
- Crop
- Rotate
- Tune Image
- White Balance
- Details
- Healing
- Selective
- Brush
- Curves
- Vignette
- Export
Following the same workflow produces consistent results.
Common Mistakes Beginners Should Avoid
Over Saturation
Extremely colorful images often look unnatural.
Keep colors balanced.
Excessive Sharpening
Too much sharpening creates unwanted noise.
Use subtle adjustments.
Heavy HDR
HDR should enhance details, not create unrealistic effects.
Ignoring Composition
Good editing cannot fix poor composition.
Always crop carefully.
Too Much Skin Smoothing
Natural skin always looks better than plastic-looking skin.
Tips to Edit Like a Professional
Edit in Good Lighting
A bright screen helps you judge colors accurately.
Start Small
Make small adjustments instead of dramatic changes.
Zoom Frequently
Check details while editing.
Compare Before and After
Tap and hold the image to compare the original with the edited version.
Practice Regularly
Editing improves with experience.
Try editing different types of photos.
Best Types of Photos to Edit in Snapseed
Snapseed works exceptionally well for:
- Portrait photography
- Landscape photos
- Travel photography
- Food photography
- Product images
- Social media content
- Street photography
- Nature photography
- Architecture
- Pet photography
Advantages of Using Snapseed
Some key benefits include:
- Free forever
- No advertisements during editing
- Professional editing tools
- RAW support
- Easy-to-use interface
- High-quality exports
- Selective adjustments
- Excellent healing feature
- Non-destructive editing
- Available on Android and iPhone
Frequently Asked Questions
Is Snapseed free to use?
Yes, Snapseed is completely free to download and use. It offers all of its editing tools without requiring a subscription, in-app purchases, or watermarks.
Is Snapseed good for beginners?
Absolutely. Snapseed has a user-friendly interface with easy-to-use tools, making it an excellent choice for beginners who want to learn photo editing without complicated software.
Can I edit RAW photos in Snapseed?
Yes, Snapseed supports RAW image editing on compatible devices. This allows photographers to make advanced adjustments while preserving image quality.
What is the best Snapseed tool for improving photo quality?
The Tune Image tool is one of the best for enhancing photo quality. It lets you adjust brightness, contrast, saturation, ambiance, highlights, shadows, and warmth for balanced results.
Does Snapseed reduce image quality after editing?
No. If you export your photos using the highest quality settings, Snapseed maintains excellent image quality with minimal loss.
How can I remove unwanted objects in Snapseed?
Use the Healing tool to remove small objects, blemishes, dust spots, or distractions. Simply zoom in, brush over the unwanted area, and Snapseed will automatically blend it with the surrounding pixels.
Can I undo edits in Snapseed?
Yes. Snapseed features non-destructive editing, allowing you to undo changes, revisit previous edits, or modify individual adjustments through the Edit Stack feature.
Is Snapseed available for both Android and iPhone?
Yes, Snapseed is available for both Android and iOS devices, making it accessible to users on most smartphones and tablets.
Conclusion
Snapseed is one of the best free photo editing apps for beginners and experienced photographers alike. Its combination of professional tools, intuitive interface, and powerful editing capabilities makes it an excellent choice for improving almost any type of photo.
By following this step-by-step Snapseed Photo Editing Tutorial for Beginners, you can develop a consistent editing workflow that produces clean, natural, and eye-catching results.
