

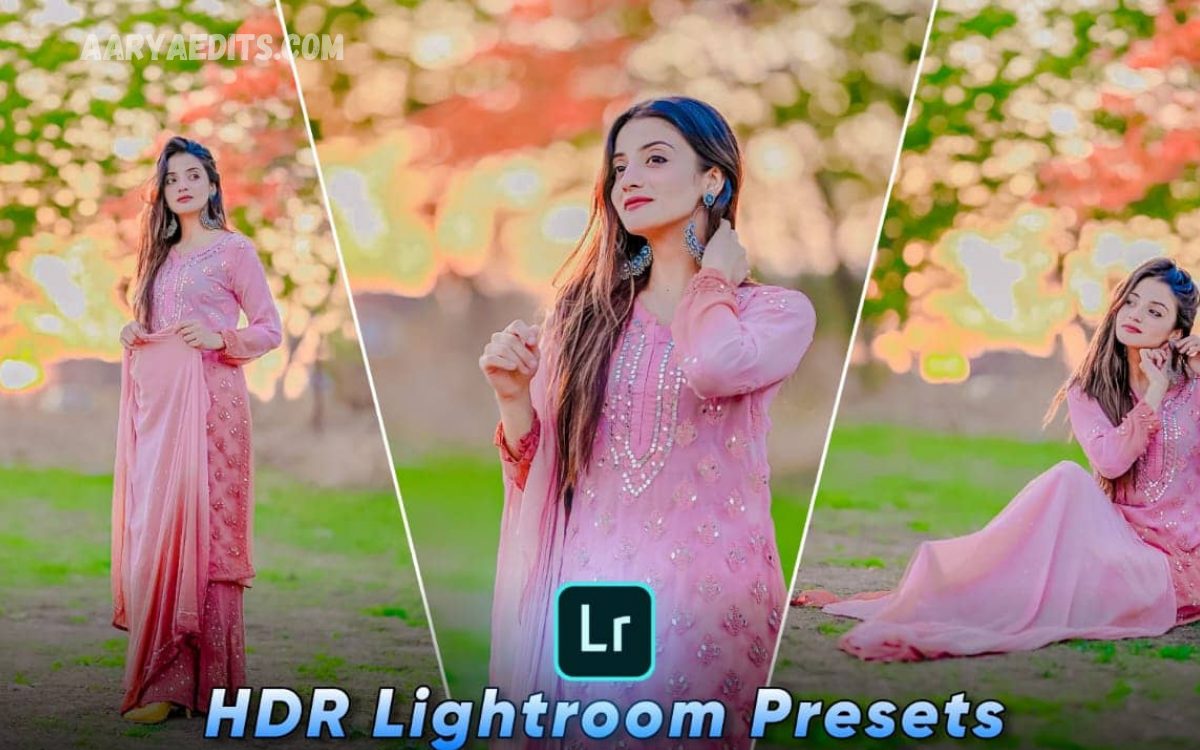
HDR Lightroom presets are ready-made editing settings designed to create a wider, more balanced dynamic range in photographs. They can adjust exposure, highlights, shadows, contrast, clarity, color, and other settings to produce a detailed, visually appealing image without manually adjusting every slider.
The Best Free HDR Lightroom Presets for Stunning Photo Editing can be especially useful when working with high-contrast scenes. Landscapes, architecture, city photography, travel images, and outdoor photographs often contain bright skies and dark foregrounds, making HDR-style adjustments helpful for recovering visual detail and creating a more balanced appearance.
Why Use Free HDR Lightroom Presets?
One of the biggest advantages of using free HDR Lightroom presets is the time they can save on editing. Instead of starting every photograph from scratch, photographers can apply a preset and then make small adjustments according to the lighting, camera, and subject.
Free presets can also be useful for beginners who are learning Lightroom. By examining how a preset changes exposure, contrast, highlights, shadows, colors, and texture, new editors can gradually understand how individual Lightroom controls influence the final appearance of an image.
Best Free HDR Lightroom Presets for Landscape Photography
Landscape photography is one of the best areas for HDR-style presets because natural scenes often feature extreme contrast between bright skies and darker land. A carefully designed HDR preset can reveal shadow details while controlling bright areas and maintaining a strong sense of depth.
A landscape HDR preset can also enhance clouds, mountains, trees, water, and natural textures. However, the strongest results usually come from moderate adjustments rather than pushing every setting to an extreme. Free HDR collections commonly include landscape-oriented styles designed to improve dynamic range, clarity, and color.
HDR Presets for Travel and Outdoor Photos
Travel photographs often need quick editing because photographers may capture hundreds of images during a trip. HDR Lightroom presets can provide a consistent starting point for photographs taken in different locations, particularly when outdoor lighting creates strong highlights and shadows.
A good travel preset should improve detail without making the photograph look artificial. Slightly stronger contrast, controlled highlights, lifted shadows, and natural saturation can make buildings, streets, mountains, beaches, and landmarks appear more impressive while retaining realism.
HDR Presets for Architecture and Real Estate
Architecture photography benefits greatly from controlled HDR editing because buildings often contain both brightly illuminated surfaces and dark interior or shadow areas. A suitable preset can help balance these areas while emphasizing lines, textures, windows, walls, and structural details.
Real estate photography requires particular care because excessive HDR effects can make rooms look unnatural. A professional result should maintain believable colors and lighting while revealing details in darker corners and preventing bright windows or exterior areas from becoming distracting.
HDR Presets for Portrait Photography
Although HDR effects are commonly associated with landscapes and architecture, they can also be used creatively with portraits. The key is to select a softer preset that enhances overall contrast and environmental detail without making skin appear overly sharp or heavily processed.
For portraits, reduce excessive clarity, texture, and saturation after applying a strong HDR preset when necessary. Natural skin tones should remain the priority, while the background and clothing can receive additional contrast and detail to create a polished final photograph.
Natural HDR Presets for Realistic Editing
Natural HDR presets are ideal for photographers who want improved dynamic range without an obvious HDR effect. These presets generally focus on recovering highlights, opening shadows, improving contrast, and maintaining balanced colors rather than creating an exaggerated appearance.
A realistic HDR style is especially valuable for professional portfolios, travel photography, property images, and social media content. The objective should be to make the photograph look better while allowing viewers to believe that the scene was captured naturally.
Dramatic HDR Presets for Creative Photography
Dramatic HDR presets are designed for photographers who want a stronger visual impact. They can emphasize textures, deepen shadows, increase local contrast, and make colors more noticeable, creating a bold and cinematic appearance.
These presets can work particularly well for cars, streets, abandoned buildings, dramatic landscapes, sports photography, and urban scenes. Some free HDR collections specifically emphasize crisp textures, bold tones, and punchy colors for subjects such as vehicles, sports, and city photography.
Black and White HDR Lightroom Presets
Black-and-white HDR presets remove color distractions and place greater emphasis on light, shadows, texture, and composition. They can transform ordinary photographs into dramatic images with a strong editorial or fine-art character.
Architecture, portraits, streets, landscapes, and documentary photography can all benefit from monochrome HDR editing. A good black-and-white preset should create separation between different tones while preserving important highlight and shadow information.
Vintage HDR Lightroom Presets
Vintage HDR presets combine dynamic-range adjustments with nostalgic colors, softer contrast, faded tones, or film-inspired characteristics. They are useful when photographers want something more artistic than a clean, modern HDR look.
Vintage styles can work well for travel photographs, weddings, portraits, streets, and lifestyle images. Because vintage presets often change colors significantly, it is worth checking skin tones and important subject colors after applying them.
Read Also: Lightroom RAW Photo Editing: Complete Guide for Better Photos
How to Choose the Best Free HDR Lightroom Preset
The best preset depends on the photograph rather than on the preset’s popularity. A landscape image may need stronger highlight recovery and detail, while a portrait may require softer contrast and more natural skin tones.
Before choosing a preset, consider the original exposure, lighting conditions, subject, colors, and intended result. Free HDR collections currently cover styles ranging from realistic and landscape-focused edits to cinematic, vintage, black-and-white, and high-contrast looks.
How to Install HDR Lightroom Presets
Installing a Lightroom preset is generally straightforward. Desktop users can import compatible preset files into Lightroom and then access them through the Presets panel. Modern preset formats, such as XMP, are commonly used in desktop workflows and can provide a convenient way to organize editing styles.
Mobile editing can follow a different process depending on the preset format and Lightroom version. Some preset providers offer mobile-compatible files, while cloud-based Lightroom workflows may allow presets to be synchronized between supported devices. Always make sure the preset format matches your Lightroom setup.
How to Use HDR Presets Correctly
Start by opening a high-quality photograph, preferably a RAW image when available. RAW files generally provide more editing flexibility because they retain considerably more image information than heavily compressed formats.
Apply the HDR preset at full strength first, then examine the result carefully. Adjust exposure, highlights, shadows, whites, blacks, texture, clarity, dehaze, and saturation as needed. A preset should be treated as a starting point rather than a final edit.
Tips for Getting Natural HDR Results
Avoid increasing clarity, texture, contrast, and saturation simultaneously without checking the overall balance. Excessive adjustments can produce halos around objects, harsh skin, unnatural colors, and an overly processed appearance.
Instead, make small changes after applying the preset. Pay special attention to skies, skin, building edges, and deep shadows. The goal is to recover useful information while preserving realistic lighting and a convincing photographic appearance.
RAW vs JPEG for HDR Lightroom Presets
RAW photographs are generally better suited to HDR-style editing because they provide greater flexibility when adjusting exposure, highlights, shadows, and white balance. This gives photographers more room to recover information from challenging lighting conditions.
JPEG images can still work with HDR presets, especially for quick social media editing or everyday photography. However, because JPEG files have already undergone processing and compression inside the camera, extreme adjustments can reveal artifacts or produce less natural results.
Benefits of the Best Free HDR Lightroom Presets
Free HDR presets can provide a fast starting point, consistent editing, and creative inspiration without requiring photographers to build every adjustment manually. They are particularly useful for beginners who want to experiment with different styles while learning Lightroom.
They can also improve workflow efficiency for photographers processing large collections. Once a suitable preset is selected, the editor can apply it to multiple photographs and then make individual corrections where necessary.
Common Mistakes When Using HDR Presets
One common mistake is assuming that every photograph should use the same preset at 100 percent strength. Different cameras, lenses, exposure settings, lighting conditions, and subjects can produce very different results even when the same preset is applied.
Another mistake is confusing increased detail with better quality. Excessive clarity, texture, sharpening, or dehaze can make photographs look harsh. Professional editing usually depends on balance, and the best HDR effect is often the one that improves the image without becoming the main focus.
Frequently Asked Questions
Are free HDR Lightroom presets really useful?
Yes, free HDR Lightroom presets can be useful for both beginners and experienced photographers. They provide a starting point for improving exposure balance, contrast, highlights, shadows, and colors while reducing repetitive editing work.
What is the best HDR Lightroom preset for beginners?
A natural HDR preset is usually the best choice for beginners because it is easier to control and less likely to produce an exaggerated result. Beginners can then adjust individual sliders to understand how each setting affects the photograph.
Can HDR Lightroom presets work with RAW photos?
Yes, HDR Lightroom presets can work with RAW photographs. RAW files are particularly useful because they provide greater flexibility for recovering highlights, lifting shadows, and correcting exposure after the preset has been applied.
Can I use HDR presets on JPEG images?
Yes, most Lightroom presets can be applied to JPEG images. However, JPEG files usually offer less flexibility for aggressive editing than RAW files, so moderate adjustments often produce better results.
Are HDR presets suitable for landscape photography?
Yes, landscape photography is one of the most suitable genres for HDR presets. They can help balance bright skies and darker foregrounds while enhancing clouds, mountains, water, vegetation, and other environmental details.
Can HDR presets be used for portraits?
Yes, but portrait editing requires a softer approach. Strong HDR settings can make skin look harsh, so reduce clarity, texture, contrast, or saturation when necessary to maintain natural-looking skin tones.
Do HDR presets automatically create true HDR photographs?
Not necessarily. A preset changes editing settings to create an HDR-style appearance, but it does not automatically reproduce the same process as combining multiple bracketed exposures. Lightroom also has dedicated HDR workflows for photographs captured with multiple exposures.
Why does my HDR preset look different from the preview?
Preset results can vary because every photograph has different exposure, white balance, camera profiles, colors, and lighting conditions. A preset is a starting point, so you may need to adjust exposure, highlights, shadows, and colors for your specific image.
Should I use an HDR preset at 100 percent strength?
Not always. Applying a preset at full strength can sometimes create excessive contrast, clarity, or saturation. Lowering the preset intensity or manually adjusting individual settings can produce a more natural and professional result.
Can free HDR presets improve photo editing speed?
Yes, presets can significantly speed up repetitive editing. Instead of manually creating a similar look for every photograph, you can apply a suitable preset and then make smaller adjustments to match each individual image.
Conclusion
The Best Free HDR Lightroom Presets for Stunning Photo Editing can make the editing process faster, easier, and more creative. From landscapes and travel photographs to architecture, portraits, vehicles, and urban scenes, the right preset can serve as an effective starting point for enhancing dynamic range, detail, contrast, and color.
The most important part of professional HDR editing is moderation. Choose a preset that matches your photography style, apply it as a foundation, and then fine-tune the exposure, highlights, shadows, colors, and details.
