

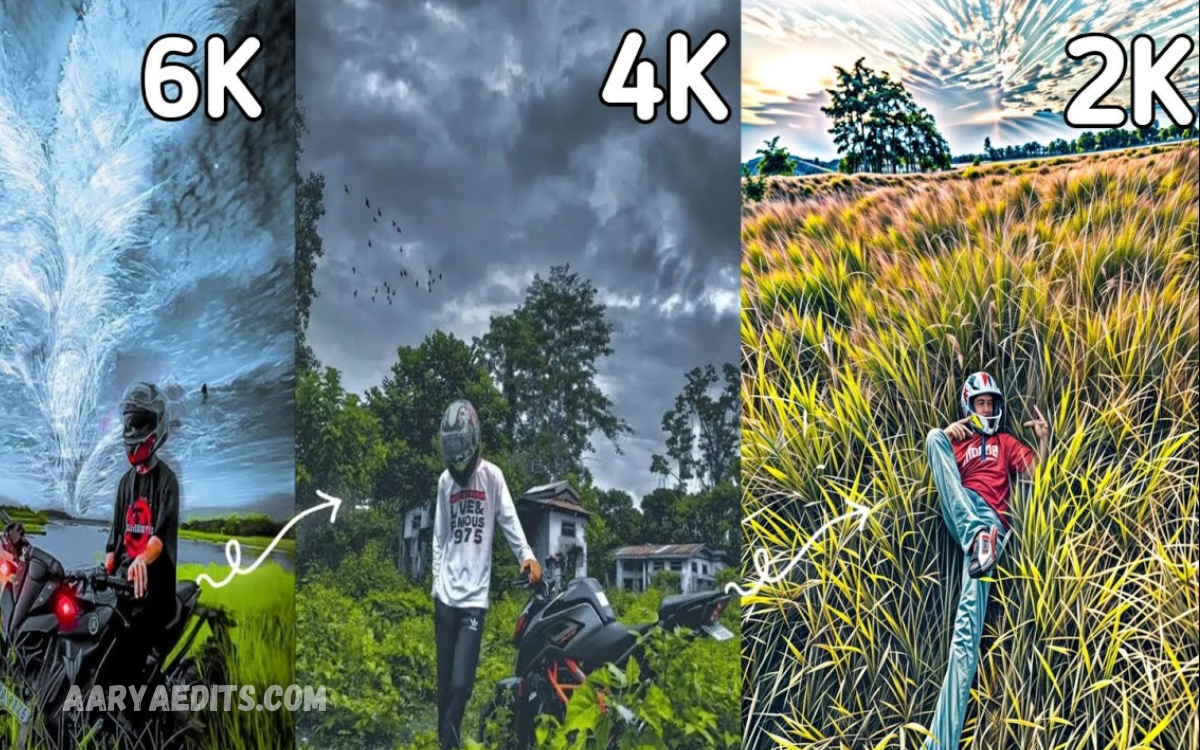
HDR photo editing is a powerful technique that can transform ordinary photographs into stunning, detailed images with balanced highlights, rich shadows, and vibrant colors. High Dynamic Range (HDR) editing combines multiple exposures or carefully adjusts a single image to capture a wider range of tones than a standard photograph can typically display.
We’ll explore the essential techniques behind HDR photo editing and explain how to create professional-looking results. You’ll learn how to choose suitable images, adjust exposure and contrast, recover highlight and shadow details, improve colors, and apply sharpening without overprocessing your photos.
What Is HDR Photo Editing?
HDR stands for High Dynamic Range, a technique designed to represent a broader range of brightness levels in an image. A camera may struggle to record detail in both extremely bright and dark areas at the same time, while HDR processing can help combine or enhance those tonal details for a more balanced photograph.
HDR photo editing can involve merging several exposures of the same scene or processing a single RAW photograph. Multiple exposures are often captured at different brightness levels, allowing the editing software to use information from shadows, midtones, and highlights to create a more complete final image.
Why Is HDR Editing Important?
One major advantage of HDR editing is improved control over difficult lighting conditions. Scenes containing bright sunlight, windows, reflective surfaces, or deep shadows can often lose important information in a standard photograph, but HDR techniques can restore some of those details.
HDR editing can also add depth and visual impact to an image. Carefully controlled tonal adjustments make textures easier to see, colours more balanced, and architectural or landscape details more noticeable. However, the goal should always be a natural-looking photograph rather than an image overloaded with effects.
Choosing the Right Photos for HDR
The quality of an HDR image begins with the photographs you choose. For a multi-exposure HDR image, it is best to use photographs taken from the same position with different exposure settings. A tripod can be particularly useful because it reduces movement between exposures.
You should also consider the subject before creating an HDR image. Landscapes, buildings, interiors, and scenes with big differences between light and dark areas are generally suitable. Moving subjects, such as people walking or vehicles traveling through a scene, can create unwanted ghosting when multiple exposures are combined.
Preparing Your Images Before Editing
Before starting HDR processing, organize and inspect your photographs carefully. Remove images that are severely blurred, incorrectly exposed, or significantly different from the rest of the exposure sequence. Consistent source images usually produce cleaner results.
If you are working with RAW files, make basic corrections before merging where necessary. Check white balance, lens corrections, and obvious technical issues, but avoid making dramatic adjustments to individual exposures. Keeping the source files consistent makes the final HDR process more predictable.
Merging Multiple Exposures
Many photo-editing applications include an HDR merge function that combines several exposures into one image. The software analyses the different frames and uses information from each one to create a photograph with a wider tonal range.
During the merging process, look for options such as alignment and ghost removal. Alignment is useful when the camera moved slightly between exposures, while ghost removal can help minimize unwanted effects caused by moving objects. Review the preview carefully before confirming the merge.
Adjusting Exposure and Dynamic Range
After creating the HDR image, exposure is one of the first settings you should evaluate. Adjust it gradually until the overall brightness looks balanced without losing important information in highlights or shadows.
Next, examine the dynamic range of the photograph. Shadow recovery can reveal hidden details in darker regions, while highlight recovery can restore information in bright areas. Avoid pushing these controls too far because excessive adjustments may introduce noise or create an unnatural appearance.
Controlling Highlights and Shadows
Highlights are often the first areas to examine when editing an HDR photograph. Bright skies, lamps, windows, and reflective surfaces can easily become distracting when they are overexposed. Reducing highlights can help restore detail and create a more controlled appearance.
Shadows require a similarly careful approach. Increasing shadow brightness can reveal details hidden in darker areas, but excessive lifting can make the image look flat and introduce visible noise. Aim for enough shadow detail to improve clarity while keeping natural depth and contrast.
Read Also: Lightroom APK Latest Version: Complete Guide to Features, Installation, and Photo Editing
Improving Contrast and Clarity
Contrast determines how strongly light and dark areas are separated. A moderate increase can give an HDR photograph more structure and make important details stand out. However, excessive contrast may remove subtle information from shadows and highlights.
Clarity and texture adjustments can further improve the appearance of surfaces and fine details. These controls should be used selectively rather than globally. Too much clarity can produce harsh edges and an unnatural look, particularly around buildings, trees, clouds, and skin.
Enhancing Color Naturally
Color is another important part of HDR photo editing. After correcting exposure and contrast, check whether the image has an accurate white balance. A neutral white balance can prevent unwanted yellow, blue, or green color casts.
Saturation should also be handled carefully. Increasing it slightly can make an image more lively, while excessive saturation can make colors look unrealistic. Vibrance can sometimes provide a gentler alternative because it can enhance weaker colors without pushing every color equally.
Applying Sharpening Carefully
Sharpening can make fine details appear clearer after HDR processing. It can be particularly helpful for landscapes, architecture, textures, and other photographs where detail is an important part of the composition.
However, sharpening should not be used to compensate for a blurry or poorly focused photograph. Excessive sharpening can create halos around edges and make digital noise more noticeable. Apply it gradually and inspect the image at 100% magnification before finalizing your settings.
Reducing Noise in HDR Images
Noise can become more visible when you brighten dark areas significantly. This is particularly common with photographs captured at high ISO settings or under poor lighting conditions. Noise reduction can help produce a cleaner final result.
The challenge is finding the right balance between noise reduction and detail preservation. Too much noise reduction can make textures appear soft or plastic. Apply the adjustment carefully and compare fine details before and after processing.
Avoiding the Overprocessed HDR Look
One of the most common HDR editing mistakes is pushing every adjustment too far. Extremely strong colors, excessive clarity, dark halos, unnatural contrast, and exaggerated shadows can make a photograph look artificial.
A professional HDR result usually benefits from restraint. After editing, temporarily reduce the intensity of your adjustments and compare the image with the original. If the final photograph still looks detailed, balanced, and believable, the processing is more likely to feel professional.
HDR Editing for Landscapes
Landscapes are excellent subjects for HDR because they frequently contain bright skies and darker foregrounds. HDR processing can help maintain cloud detail while revealing texture in rocks, trees, buildings, and other darker elements.
When editing landscapes, pay close attention to the horizon and sky. Excessive shadow recovery or clarity can make the scene appear harsh. Natural colors, controlled contrast, and realistic skies generally produce a stronger result than extreme processing.
HDR Editing for Architecture and Interiors
Architecture and interior photography often involves challenging lighting. Bright windows may appear overexposed while rooms remain dark, making HDR useful for balancing the overall scene.
When editing these photographs, maintain straight lines and realistic colors. Avoid excessive clarity around edges because it can make walls, windows, and furniture appear unnatural. A balanced HDR image should show both the structure and atmosphere of the space.
Best Workflow for HDR Photo Editing
A consistent workflow can make HDR editing easier and more efficient. Start with image selection, alignment, and merging, then move through exposure, highlights, shadows, contrast, color, detail, noise reduction, and final sharpening.
Once the technical adjustments are complete, inspect the overall composition. Look for distracting areas, unnatural colors, halos, excessive noise, or overly bright and dark sections. A final review helps ensure that the photograph looks polished rather than heavily processed.
Common HDR Editing Mistakes
Ignoring the original lighting is one common mistake. HDR editing should improve the photograph without completely changing the way the scene naturally looked. Overusing sliders can quickly create exaggerated colors, unnatural shadows, and unrealistic contrast.
Another mistake is failing to check the final image at full resolution. Some problems may not be obvious when viewing a smaller preview. Zooming in can reveal noise, halos, ghosting, sharpening problems, and other technical issues before you export the finished photograph.
Exporting Your Finished HDR Image
Once your HDR photograph is complete, choose the appropriate export settings for its intended purpose. High-quality files are useful for printing and professional projects, while compressed JPEG files can be more practical for websites and social media.
Before exporting, check the color profile, image dimensions, file format, and sharpening settings. Keep an original high-quality version whenever possible. This allows you to create different versions later without repeatedly editing or compressing the original file.
Frequently Asked Questions
What is HDR photo editing?
HDR photo editing is the process of improving a photograph’s tonal range by combining exposures or adjusting a single image. It helps balance bright highlights, darker shadows, and midtones.
Is HDR suitable for beginners?
Yes. Beginners can learn HDR editing by starting with basic exposure, highlight, shadow, contrast, and color adjustments. Gradual practice makes it easier to understand how each setting affects the final image.
Do I need multiple photos for HDR?
Not always. Multiple exposures can provide more tonal information, but a high-quality RAW photograph can also be processed to create an HDR-style result with careful adjustments.
Should HDR photos look realistic?
In most cases, yes. A professional HDR photograph should retain natural lighting, colors, and contrast unless a deliberately artistic style is intended.
Why does my HDR image look unnatural?
The most common causes are excessive saturation, clarity, contrast, shadow recovery, or highlight reduction. Reducing these adjustments can create a more realistic appearance.
Can HDR remove overexposed areas?
HDR can recover some highlight information when that information exists in another exposure or remains available in a RAW file. Completely clipped highlights usually cannot be fully restored.
Is a tripod necessary for HDR photography?
A tripod is not always required, but it can be very helpful when capturing multiple exposures. It keeps the camera stable and makes alignment easier during the HDR merge.
How can I prevent HDR ghosting?
Ghosting can occur when objects move between exposures. Use an HDR application’s ghost-removal feature when available, or choose scenes with minimal movement for multi-exposure HDR photography.
Can HDR editing improve landscape photographs?
Yes. HDR can help balance bright skies with darker foregrounds while preserving texture and detail. Careful color and contrast adjustments can make landscapes more impressive without looking artificial.
What is the best HDR editing approach?
The best approach is controlled and gradual. Begin with good source photographs, correct exposure and white balance, balance highlights and shadows, enhance color moderately, reduce noise when necessary, and finish with careful sharpening.
Conclusion
HDR Photo Editing: A Complete Tutorial for Stunning Images provides a practical foundation for creating photographs with better tonal balance, detail, and visual impact. From selecting suitable exposures and merging images to adjusting highlights, shadows, contrast, color, and sharpening, every step contributes to the final appearance.
The most important lesson is to avoid excessive processing. Effective HDR editing should enhance what is already present in a photograph rather than overwhelm it with effects.
