

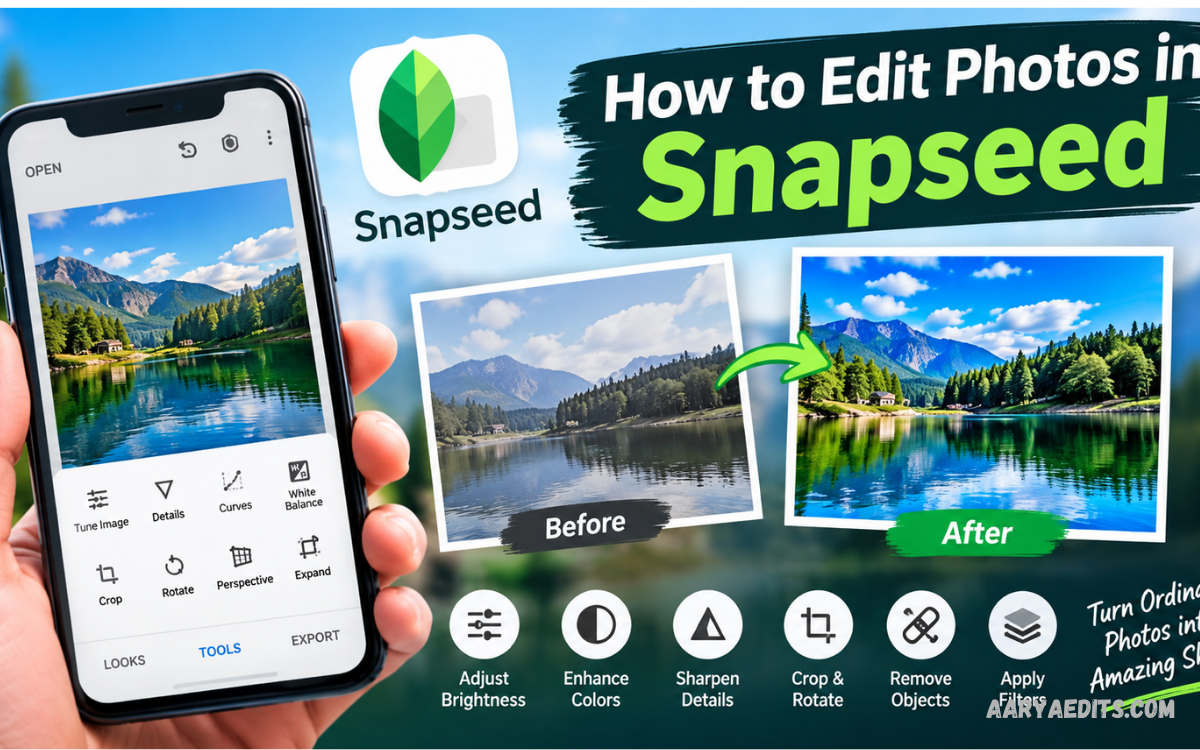
Snapseed is a powerful mobile photo editor designed for users who want professional-looking results without complicated editing software. Developed by Google, the app provides precise controls for exposure, color, details, perspective, selective adjustments, healing, curves, and creative effects.
Professional photo editing is not simply about adding filters or increasing brightness. A strong edit starts with understanding the original photograph, identifying areas that need improvement, and applying adjustments carefully.
What Is Snapseed?
Snapseed is a mobile photo-editing application that provides a broad collection of editing tools for smartphones. Its interface combines simple controls with advanced adjustments, allowing users to modify exposure, contrast, saturation, sharpness, perspective, colors, and selected areas of an image.
One major advantage of Snapseed is its combination of simplicity and precision. Beginners can start with automatic enhancements and basic tools, while advanced users can use Curves, Selective, Brush, Healing, Perspective, and other features for detailed adjustments.
How to Edit Photos in Snapseed
Start by opening Snapseed and tapping the + button to select an image from your phone. Once the photo loads, examine its exposure, composition, colors, shadows, highlights, and distracting elements before making changes. This initial inspection helps you decide which tools are actually necessary.
For How to edit photos in Snapseed, begin with basic corrections rather than applying several effects immediately. Adjust brightness, contrast, saturation, ambience, highlights, and shadows according to the image. Make small changes and compare the result with the original so the final photograph remains natural and balanced.
Import Your Photo Into Snapseed
Open Snapseed and select the photograph you want to edit from your device. Choose an image with sufficient resolution for your intended use, especially when the photograph will appear on a website, portfolio, or social media platform. A high-quality original gives editing tools more visual information to work with.
After importing the image, spend a few seconds examining its composition. Check whether the horizon is straight, the subject is positioned correctly, and unwanted objects appear near the edges. Identifying these issues before editing makes the entire workflow more organized and efficient.
Start With Tune Image
The Tune Image tool is one of the most useful starting points for Snapseed editing. It provides controls for brightness, contrast, saturation, ambience, highlights, shadows, and warmth. These settings allow you to correct the overall appearance before applying more specialized adjustments.
Move each slider gradually instead of pushing values to extremes. Increasing brightness too much can remove detail from highlights, while excessive contrast can make shadows appear harsh. A professional edit usually relies on subtle changes that improve the photograph without making the adjustments obvious.
Adjust Brightness
Brightness controls the overall light level of your photograph. If the original image looks underexposed, a moderate brightness increase can reveal important details. If the image appears excessively bright, reducing brightness can restore balance and prevent bright areas from dominating the composition.
The correct brightness level depends on the subject, lighting conditions, and desired style. Review skin tones, skies, walls, clothing, and other bright elements while adjusting the slider. Aim for an image that looks properly illuminated rather than simply making every area brighter.
Improve Contrast
Contrast controls the difference between darker and lighter areas in an image. A small contrast increase can add depth and make subjects appear more defined. Lower contrast can create a softer appearance when the original photograph contains very strong lighting differences.
Avoid using contrast as a substitute for proper exposure correction. Excessive contrast can eliminate shadow detail and create overly bright highlights. For professional results, adjust contrast after establishing a suitable brightness level and check the photograph at normal viewing size.
Control Saturation
Saturation changes the intensity of colors throughout the image. Increasing saturation can make landscapes, clothing, architecture, and colorful objects appear more vibrant. However, excessive saturation can create unnatural skin tones and unrealistic colors.
Use saturation carefully and consider the visual purpose of the photograph. A colorful travel image may benefit from slightly stronger colors, while a portrait often looks better with restrained saturation. Natural-looking colors generally produce a more polished result.
Use Ambiance for Balanced Enhancement
Ambiance is a useful Snapseed adjustment for improving tonal balance across an image. It can enhance detail and visual depth while affecting darker and brighter areas differently. This makes it useful when a photograph looks flat but does not need aggressive contrast.
Apply Ambiance gradually and inspect the entire image after each adjustment. Strong settings can produce an exaggerated HDR-like appearance that may not suit every photograph. Moderate adjustments usually create a cleaner and more professional result.
Adjust Highlights and Shadows
Highlights control brighter parts of the photograph, while shadows affect darker areas. Reducing highlights can recover visual detail in bright skies, windows, clothing, or illuminated backgrounds. Increasing shadows can reveal information hidden in darker regions.
These controls are especially helpful for photographs captured under difficult lighting. Balance them rather than trying to eliminate every difference between light and dark areas. Natural photographs normally contain both highlights and shadows, so preserving some tonal variation helps maintain depth.
Correct White Balance With Warmth
Warmth changes the overall color temperature of the photograph. Moving toward warmer tones can create a golden appearance, while cooler settings can introduce a bluish atmosphere. The right setting depends on the lighting conditions and intended mood.
For accurate editing, use warmth primarily to correct unwanted color casts. Indoor lighting may produce yellow tones, while cloudy conditions can make an image appear cooler. Adjust warmth until neutral objects look reasonably neutral and the overall color feels consistent.
Use Details for Sharpness
The Details tool includes settings that can improve structure and sharpening. Sharpening can make edges appear clearer, while structure can emphasize textures and fine visual information. These controls are particularly useful for architecture, landscapes, objects, and detailed scenes.
Use sharpening carefully because excessive sharpening can create visible halos and harsh edges. Structure can also make skin texture look unnatural in portraits. Apply these adjustments according to the subject rather than using identical values for every photograph.
Crop Your Photo Professionally
Cropping removes unnecessary areas and improves composition. Snapseed provides different aspect ratios that can help prepare images for specific platforms or presentation formats. A thoughtful crop can place greater emphasis on the main subject and reduce visual distractions.
Before cropping, identify the strongest part of the composition. Avoid cutting important body parts, objects, or contextual elements unless the crop intentionally creates a close-up composition. Maintain enough surrounding space to preserve balance and avoid making the photograph feel cramped.
Straighten the Horizon
A tilted horizon can make an otherwise strong photograph look unfinished. Snapseed provides tools for correcting perspective and alignment, which are especially useful for landscapes, architecture, buildings, roads, and images containing strong horizontal or vertical lines.
Use visible architectural lines, horizons, or other straight elements as references. Correct the angle gradually and inspect the edges after adjustment. Straightening can sometimes create empty areas that require additional cropping, so check the final composition after applying the correction.
Use Perspective for Architectural Photos
The Perspective tool helps correct distortions caused by camera position and lens perspective. It can be useful for buildings where vertical lines appear to lean inward or scenes captured from an unusual angle. Snapseed can automatically fill certain areas created by perspective adjustments.
Perspective correction should remain realistic. Completely removing natural perspective can make a building or object appear visually unusual. Make small corrections, compare the result with the original, and prioritize believable geometry over aggressive transformation.
Remove Distractions With Healing
The Healing tool can remove small unwanted elements from photographs. It works well for minor distractions such as spots, small objects, marks, or background imperfections. Select the unwanted area and allow Snapseed to replace it using surrounding visual information.
Use Healing carefully when working with complex backgrounds. Large edits can produce visible patterns or duplicated textures if the surrounding area lacks enough information. Zoom in while making precise corrections, then zoom out to ensure the edited area blends naturally with the photograph.
Use Selective Adjustments
Selective editing allows you to modify specific portions of a photograph instead of changing the entire image. Snapseed can apply adjustments to selected areas, making it possible to brighten a face, improve a subject, or modify the appearance of a particular background region.
This approach is valuable for professional-looking results because photographs rarely need identical adjustments everywhere. Instead of increasing global brightness to fix one dark area, use a selective adjustment on that area. This preserves the original balance across the rest of the image.
Edit Portraits in Snapseed
Portrait editing requires a careful approach because excessive adjustments can make skin appear artificial. Start by correcting exposure and white balance, then make subtle improvements to color and detail. Keep natural facial features and skin texture visible.
Snapseed provides tools that can enhance portrait presentation without requiring extreme retouching. Use Healing for small temporary distractions, Selective adjustments for controlled exposure, and Details with restraint. The objective should be a clean, balanced portrait rather than an image that looks heavily processed.
Enhance Landscape Photos
Landscape photography can benefit from controlled adjustments to contrast, ambience, saturation, highlights, shadows, and structure. Start by correcting exposure and recovering highlight detail in bright skies. Then enhance colors and textures according to the natural characteristics of the scene.
Avoid making skies excessively blue or vegetation unnaturally saturated. Strong landscapes usually benefit from believable colors and clear tonal separation. Use selective adjustments when only the sky, foreground, or main subject requires additional enhancement.
Use Curves for Advanced Editing
Curves provides advanced control over brightness and tonal relationships. Instead of adjusting the entire image with a single brightness slider, you can modify specific tonal ranges. A carefully created curve can improve contrast while preserving important details.
Beginners should make small curve adjustments and observe how different sections of the image respond. The lower portion generally affects darker tones, while the upper portion affects brighter tones. Experiment gradually and compare the result with the original to avoid excessive tonal changes.
Create a Black-and-White Photo
Snapseed includes a Black & White tool for converting color photographs into monochrome images. Black-and-white editing can emphasize composition, texture, lighting, facial expressions, and shapes without the distraction of color.
After conversion, adjust brightness and contrast to establish clear tonal separation. Different color channels can also influence how individual areas appear in monochrome. A successful black-and-white image depends heavily on light, shadow, texture, and composition.
Use Filters Carefully
Snapseed includes creative filters that can quickly change the style of an image. Filters can be useful for experimenting with different visual moods, but applying strong effects without adjustment can reduce the professional appearance of a photograph.
Treat filters as a starting point rather than a final result. After selecting an effect, reduce its strength if necessary and inspect the image for unnatural colors, excessive texture, or distracting effects. Subtle styling often creates a more refined final image.
Read Also: How to Use Snapseed: Complete Photo Editing Guide
Apply Vignette for Subject Focus
The Vignette tool can darken or brighten areas around a central point. A subtle vignette can guide attention toward the main subject and create greater visual focus. It is particularly useful for portraits, objects, food photography, and certain atmospheric scenes.
Keep the effect understated so viewers do not immediately notice the vignette. Excessive darkening around the edges can make the photograph appear heavily processed. Adjust the center position and outer brightness according to the composition rather than automatically centering the effect.
Use Double Exposure Creatively
Double Exposure combines two photographs to create artistic compositions. It can be used for creative portraits, silhouettes, conceptual images, and experimental designs. The tool provides different blending options that affect how the two images interact.
Creative effects require careful image selection. Choose photographs with complementary shapes, lighting, or textures so the final composition remains understandable. Experiment with opacity and blending modes, then review the image at normal size before deciding whether the effect works.
Use Text and Frames When Appropriate
Snapseed provides additional creative tools for adding text and frames to photographs. Text can be useful for simple visual designs, announcements, thumbnails, or social media graphics. Frames can provide a finishing touch when they match the image style.
Keep typography readable and avoid excessive decorative elements. A professional visual design usually benefits from clear hierarchy and sufficient spacing. When the photograph itself is the primary subject, supporting elements should enhance rather than compete with it.
Compare Your Edit With the Original
Comparing the edited image with the original is an important part of the Snapseed workflow. Press and hold the preview area to inspect the unedited photograph, then release it to view the current version. This makes it easier to recognize changes that may have become excessive.
A useful comparison should consider exposure, color, detail, composition, and overall realism. If the edited photograph looks dramatically different without a deliberate artistic reason, some adjustments may need to be reduced. Professional editing often involves knowing when to stop.
Use Snapseed Editing History
Snapseed provides an editing workflow that allows you to review changes made during the editing process. This can help when you want to modify a previous adjustment rather than restarting the entire project. Understanding the editing history also makes experimentation safer.
When an adjustment produces an unwanted result, revisit that specific step instead of adding another adjustment to compensate for it. This keeps the workflow organized and makes it easier to understand how individual tools affect the final image.
Build a Consistent Editing Workflow
A consistent workflow helps reduce unnecessary adjustments and produces more predictable results. Start with composition and geometry, continue with exposure and color, then move toward local corrections and creative effects. Finish by reviewing the entire image before exporting it.
A practical order is Crop and Straighten → Tune Image → White Balance → Details → Selective Adjustments → Healing → Curves or Creative Tools → Final Review. You do not need every tool for every image. Use only the adjustments that solve a visible problem or support the intended visual style.
Avoid Overediting Your Photos
Overediting is one of the most common problems in mobile photography. Excessive saturation, sharpening, contrast, HDR effects, or skin smoothing can make an image look artificial. Professional editing generally focuses on improving the photograph while preserving believable details.
After completing the main adjustments, take a short break or view the photograph at a different size. Returning with fresh eyes can reveal overly strong effects that were difficult to notice during editing. Reduce any adjustment that attracts attention for the wrong reason.
Export Your Edited Photo
Once your editing is complete, tap Export in Snapseed to save the finished photograph. Choose the appropriate export option based on whether you need a standard saved copy, a resized image, or a file suitable for further use. Review the available export settings on your current version of the app.
Before sharing the final image, inspect its resolution and overall quality. Make sure important details remain clear and that the image is suitable for its intended platform. Keeping a high-quality original copy can also be useful if you later need a different crop or size.
Best Snapseed Settings for Natural Photos
Natural editing usually depends on moderate adjustments rather than fixed numbers. Start with small changes to brightness, contrast, saturation, ambience, highlights, and shadows. The correct value changes from photograph to photograph because lighting and camera exposure are never identical.
Instead of searching for one universal Snapseed preset, develop a visual method. Ask whether the image needs more light, better tonal balance, improved color accuracy, stronger subject separation, or distraction removal.
Snapseed Editing Tips for Beginners
Beginners should learn one tool at a time rather than trying every feature during the first editing session. Start with Tune Image, Crop, Rotate, Details, Healing, and Selective adjustments. These tools cover many common editing requirements and provide a strong foundation.
Always zoom out and inspect the complete image after making detailed corrections. Small imperfections can become obvious when an image is viewed normally. Save your work carefully and compare different versions when experimenting with stronger creative effects.
Common Snapseed Editing Mistakes
One common mistake is increasing every adjustment because the image initially appears more impressive. Strong saturation, contrast, structure, and sharpening can create a dramatic preview but may reduce image quality and realism. Another mistake is ignoring composition while focusing only on color and effects.
Another issue is making global adjustments when only one area needs correction. For example, increasing overall brightness to improve a dark subject may make the background too bright. Selective tools provide more control and can produce a cleaner result without affecting unrelated areas.
Professional Snapseed Workflow
A professional workflow begins with analyzing the photograph before touching any adjustment. Correct composition and geometry first, then establish exposure and white balance. After that, refine color, detail, and local areas before applying creative effects only when they support the image.
The final stage should focus on quality control. Compare the edited version with the original, inspect important areas at a closer view, and then review the complete composition. Remove unnecessary effects, confirm that colors look believable, and export the image at an appropriate quality level.
How to Edit Photos in Snapseed for Social Media
Social media images often require strong composition and clear visual focus because viewers see them quickly on small screens. Crop the photograph according to the intended platform, adjust exposure and color carefully, and ensure the main subject remains easy to recognize.
Avoid excessive filters simply to make the image stand out. Clear details, balanced colors, and strong composition can create a more professional appearance. Before posting, inspect the image on your phone at the approximate size viewers will see on their screens.
How to Edit Photos in Snapseed Without Losing Quality
Maintaining quality starts with using the highest-quality original photograph available. Avoid repeatedly exporting and re-editing compressed copies because repeated processing can reduce image quality. Keep an original version separate from the final edited copy.
Make deliberate adjustments and export the final image according to its intended purpose. For websites, social platforms, portfolios, or personal archives, different dimensions and quality settings may be appropriate. Preserving a high-resolution master gives you flexibility for future editing.
How to Make Snapseed Edits Look Professional
Professional-looking edits usually come from consistency, restraint, and attention to detail. Exposure should look balanced, colors should support the subject, highlights should retain useful information, and shadows should maintain sufficient depth. Every adjustment should have a clear purpose.
Developing a professional editing style takes practice. Edit different types of photographs and observe how the same tool behaves under different lighting conditions. Over time, you will become better at identifying which areas require correction and which areas should remain untouched.
Final Checklist Before Saving
Before exporting a Snapseed edit, check the image from several perspectives. Review exposure, white balance, contrast, saturation, highlights, shadows, sharpness, composition, and unwanted distractions. Also verify that creative effects remain consistent with the subject.
Finally, compare the edited version with the original. If the photograph looks cleaner, more balanced, and more focused without losing its natural character, the workflow is likely successful. This final review is an important step in learning. How to edit photos in Snapseed effectively.
Conclusion
Learning how to edit photos in Snapseed becomes easier when you follow a structured workflow instead of relying on random filters. Begin with composition, exposure, white balance, and tonal corrections, then use Details, Healing, Selective Adjustments, Curves, and creative tools when appropriate.
Snapseed provides enough flexibility for beginners and advanced mobile editors alike. The key is to understand what each tool does, apply adjustments according to the photograph, and compare the result with the original before exporting.
