

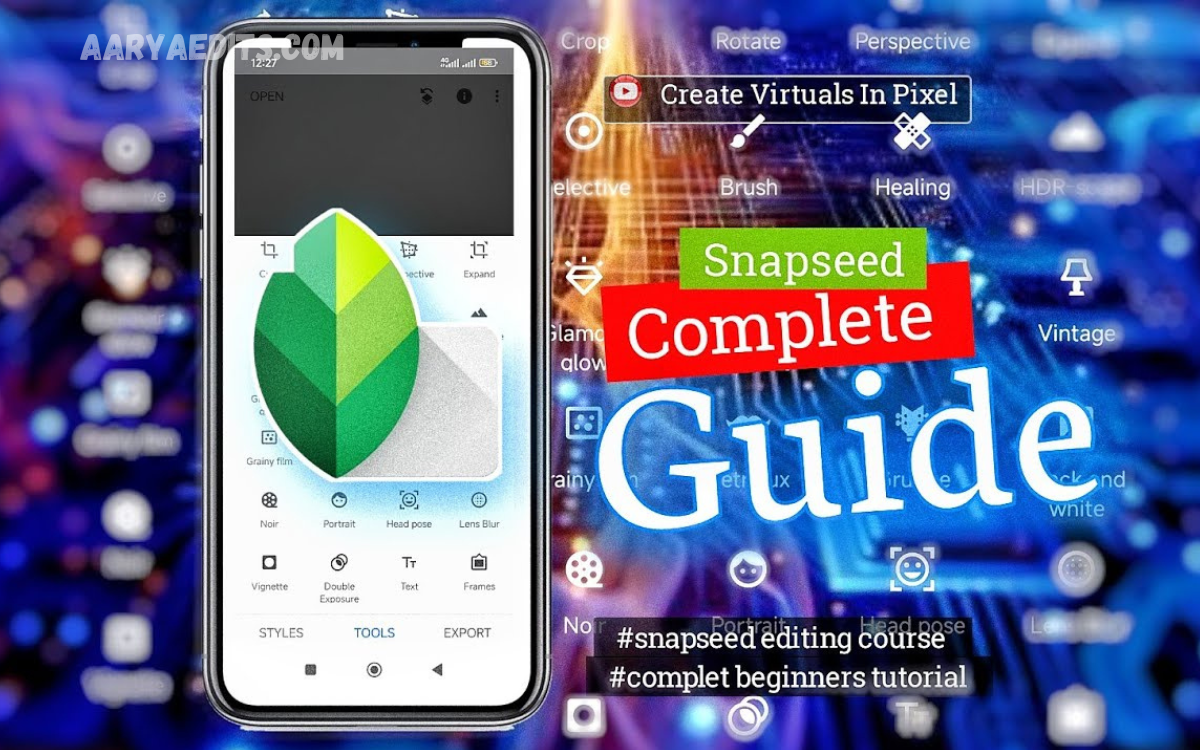
Snapseed is one of the most powerful mobile photo-editing applications for users who want professional-looking results without the need for complicated desktop software. While many people use basic features such as Tune Image, Crop, and Filters, the app includes several lesser-known tools and editing techniques that can dramatically improve your photographs.
Learning these Hidden Snapseed Tools and Advanced Editing Tricks can transform ordinary pictures into polished images. From selective adjustments and curves to double exposure, healing, perspective correction, and precise brush edits, Snapseed gives photographers impressive control directly from a smartphone.
Use Selective Tool for Precise Adjustments
The Selective tool is one of Snapseed’s most useful features for localized editing. You can place control points on specific areas and adjust brightness, contrast, saturation, or structure without changing the entire photograph.
For example, if a person’s face appears slightly dark while the background is already bright, you can place a selective point over the face and gently increase its brightness. This technique produces a much more natural result than brightening the entire image.
Master the Curves Tool
Curves provides advanced control over an image’s tonal range and is particularly useful for creating professional contrast. By adjusting points along the curve, you can control shadows, midtones, and highlights independently.
A gentle S-curve can add contrast while maintaining a natural appearance. You can also raise the shadow portion slightly for a softer look, or lower the highlights when bright areas are too intense.
Explore Tune Image Beyond Basic Settings
Tune Image is often considered a beginner-friendly tool, but experienced editors can use it for detailed tonal balancing. Brightness, contrast, saturation, ambiance, highlights, shadows, and warmth can be combined to create a strong foundation.
Instead of increasing every setting dramatically, make small adjustments and observe how they interact. Reducing highlights while lifting shadows, for example, can recover visual balance in images captured under difficult lighting.
Use Details for Sharper Photos
The Details tool contains Structure and Sharpening controls that can make photographs appear clearer and more defined. Structure emphasizes local textures, while sharpening improves the perception of edge detail.
However, excessive sharpening can create harsh outlines and unnatural textures. Apply these controls carefully, especially for portraits, where excessive structure can accentuate skin imperfections and make the image look artificial.
Try the Healing Tool for Clean Images
The Healing tool is ideal for removing distracting objects, small blemishes, dust spots, wires, or unwanted elements from photographs. It works best when the unwanted area is relatively small and surrounded by consistent textures.
For better results, zoom into the image before making corrections. Use several small healing strokes instead of one large stroke when possible. This gives Snapseed more surrounding information and can produce cleaner results.
Create Creative Results with Double Exposure
Double Exposure allows you to blend two images together for creative compositions. You can combine portraits with landscapes, textures, architecture, clouds, or abstract patterns to create visually interesting artwork.
The secret is to control opacity and select an appropriate blending mode. Images with complementary shapes and lighting usually produce more convincing results than completely unrelated photographs.
Improve Composition with Perspective
The Perspective tool is especially useful for architecture, buildings, interiors, and photographs captured from unusual angles. It can correct tilted structures and improve the visual balance of an image.
Perspective correction should be subtle because aggressive adjustments can stretch objects and create unrealistic proportions. After correcting perspective, use cropping to remove empty areas around the edges and create a cleaner composition.
Use Brush for Localized Editing
The Brush tool gives you another way to make selective adjustments. Depending on the available adjustment, you can modify exposure or saturation in specific areas rather than applying changes globally.
This technique is useful when only part of an image needs correction. For example, you can brighten a dark subject, reduce saturation in a distracting background, or selectively enhance important areas without affecting the rest of the photograph.
Unlock Better Results with RAW Editing
If your smartphone camera supports RAW photography, Snapseed can provide additional flexibility when editing compatible files. RAW images generally preserve more original image information, giving you greater control over exposure, shadows, highlights, and color.
When working with RAW files, begin with exposure and white balance before making creative adjustments. Once the basic tonal balance is correct, continue with details, selective edits, curves, and other tools for the final appearance.
Use Vignette with Precision
Vignette can help guide attention toward the main subject by subtly darkening or modifying the edges of an image. It works particularly well for portraits, food photography, and compositions where the center contains the primary subject.
Avoid making the vignette too strong, as overly dark edges can make an image look processed. A subtle vignette usually provides a more professional result and keeps the viewer’s attention naturally focused.
Combine Tools for Professional Editing
The most effective Snapseed workflow rarely depends on one tool. Start with cropping and perspective correction, then adjust exposure and color before applying selective corrections and creative effects.
Finish with details, healing, and a subtle vignette when necessary. Reviewing the final image at full size is important because adjustments that look attractive when zoomed in can sometimes appear excessive when viewed at normal size.
Read Also: Download Portrait Lightroom Presets for Stunning Photos
Advanced Color Grading Techniques
Snapseed can also be used for creative color grading by combining Tune Image, Curves, White Balance, and selective adjustments. Warm tones can create a welcoming atmosphere, while cooler tones may provide a modern or cinematic appearance.
For consistent results, avoid pushing saturation too far. Instead, control warmth, highlights, shadows, and selective color adjustments gradually. Professional-looking color grading usually depends on subtle tonal relationships rather than extremely bright colors.
Save Time with Non-Destructive Editing
Snapseed’s editing workflow lets you revisit adjustments via its editing history and apply changes without permanently altering the original photograph. This is especially helpful when experimenting with advanced techniques.
Always keep the original image available and compare your final version with it before exporting. This simple habit helps prevent over-editing and makes it easier to identify whether an adjustment genuinely improves the photograph.
Create Your Own Editing Style
Developing a recognizable editing style is more valuable than simply copying popular filters. Experiment with similar exposure levels, contrast, warmth, saturation, and selective adjustments across different photographs.
Once you discover a combination that works consistently, save your workflow or reuse similar settings. Over time, this approach can help you create a visual identity for social media photography, personal projects, or professional content.
Common Snapseed Editing Mistakes
One of the biggest mistakes is applying too much of every adjustment. Excessive saturation, sharpening, structure, contrast, and vignette can quickly make an image look unnatural and reduce its professional quality.
Another common mistake is ignoring the original lighting. Editing should enhance the photograph rather than completely fight against its natural appearance. Make changes gradually and regularly compare the edited image with the original.
Best Workflow for Advanced Snapseed Editing
A reliable workflow begins with composition. Crop the image and correct perspective first, then establish the basic exposure, contrast, shadows, highlights, and white balance before moving toward creative adjustments.
After the foundation is complete, use selective tools, curves, brush adjustments, healing, details, and subtle effects. Finally, zoom out and inspect the complete image before exporting it at the desired quality.
Frequently Asked Questions
What are the most useful hidden Snapseed tools?
Selective, Curves, Brush, Healing, Perspective, Double Exposure, and RAW editing are among the most valuable advanced features. They provide greater control than basic filters and can significantly improve editing precision.
Is Snapseed suitable for professional photo editing?
Yes, Snapseed can handle many professional mobile editing tasks. It provides detailed controls for exposure, color, perspective, selective adjustments, retouching, and creative compositions.
How can I make photos look more professional in Snapseed?
Start with proper cropping and exposure correction, then refine highlights, shadows, contrast, colors, and details. Use selective adjustments rather than applying strong global effects whenever possible.
How does the Selective tool work?
The Selective tool lets you place control points over particular areas of a photograph. You can then adjust brightness, contrast, saturation, or structure within those areas while leaving most of the image unchanged.
What does the Curves tool do in Snapseed?
Curves provides control over different tonal areas of an image. It can be used to improve contrast, recover visual balance, create faded effects, and develop customized tonal styles.
Can Snapseed remove unwanted objects?
Yes, the Healing tool can remove many small unwanted objects and imperfections. Results are generally better when the unwanted element is surrounded by simple or repetitive background details.
Is Double Exposure useful for creative photography?
Yes, Double Exposure is excellent for artistic compositions. It can combine portraits, landscapes, textures, and other photographs into a single creative image.
How can I avoid over-editing photos?
Make small adjustments and frequently compare the edited version with the original. If colors, details, or contrast become distracting, reduce the intensity until the photograph looks natural again.
Can Snapseed edit RAW photos?
Snapseed supports RAW editing for compatible images and devices. RAW files offer greater flexibility in adjusting exposure, highlights, shadows, and white balance during editing.
What is the best Snapseed editing trick for beginners?
The best approach is to master selective editing. Rather than changing the entire image, make targeted adjustments to the subject, background, sky, or other important areas. This quickly produces more controlled, professional-looking results.
Conclusion
Mastering Hidden Snapseed Tools and Advanced Editing Tricks can take your smartphone photography far beyond basic filters. Tools such as Selective, Curves, Healing, Brush, Perspective, Details, Double Exposure, and RAW editing provide enough flexibility to handle a wide range of creative and practical editing tasks.
The most important technique is controlled editing. Use small adjustments, protect natural details, and build your final image through several carefully planned steps.
