

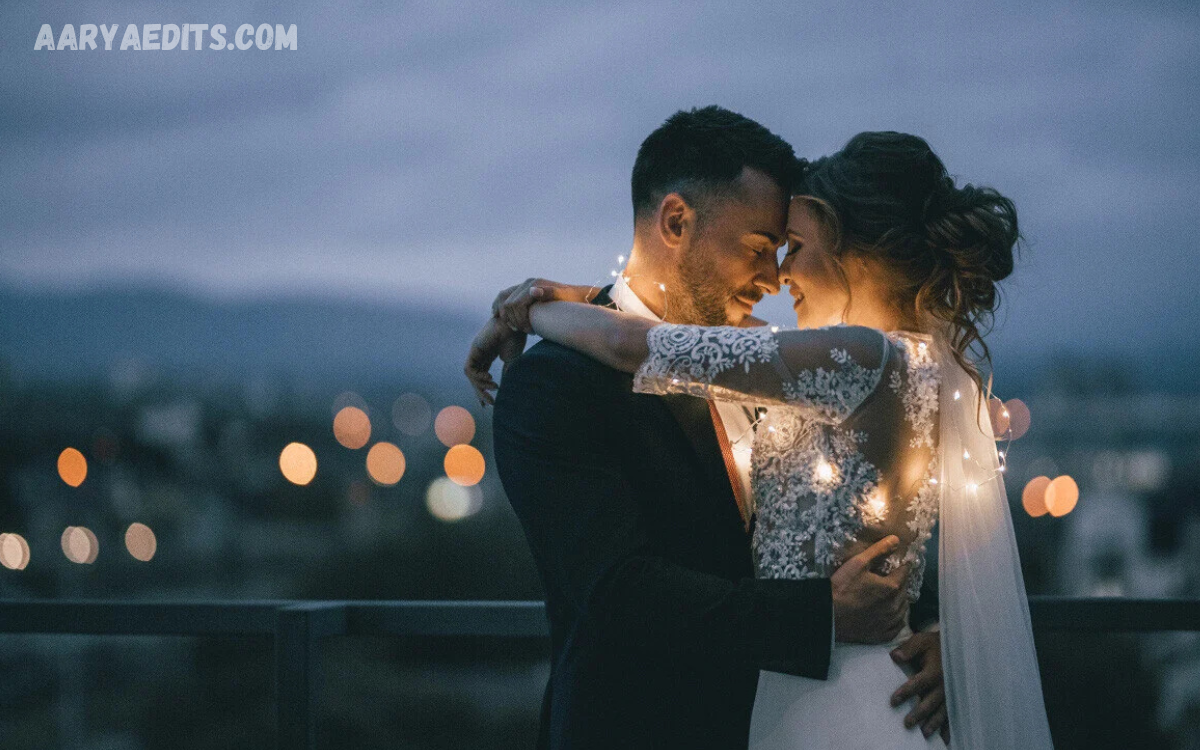
Professional photo editing techniques can transform ordinary images into visually striking masterpieces. Whether you are a beginner learning the basics or an experienced photographer refining your workflow, mastering the right editing methods is essential for producing high-quality results.
A successful editing process is about enhancing a photo rather than overprocessing it. Professional editors focus on maintaining realistic details while improving clarity, lighting, and overall visual appeal. They also use advanced features such as layer masking, dodge and burn, frequency separation, and AI-powered editing tools to achieve polished, professional-quality results.
Why Professional Photo Editing Matters?
Photography captures a moment, but editing perfects it. Cameras cannot always reproduce scenes exactly as the human eye sees them. Lighting conditions, camera settings, weather, and environmental factors often reduce image quality. Professional editing bridges this gap by enhancing colors, correcting exposure, improving sharpness, and removing distracting elements.
High-quality edited photos create a stronger visual impact for businesses, photographers, influencers, and eCommerce brands. Well-edited images build trust, increase engagement, and improve conversion rates across websites and social media platforms.
Choose the Right Editing Software
Professional editing begins with selecting powerful software that matches your workflow.
Popular editing applications include:
- Adobe Photoshop
- Adobe Lightroom
- Capture One
- Affinity Photo
- Luminar Neo
- ON1 Photo RAW
- GIMP
- Canva Pro for quick edits
Each program offers unique tools for photographers, graphic designers, and content creators.
Start with RAW Files
Professional photographers usually shoot in RAW format instead of JPEG.
RAW files contain:
- More color information
- Higher dynamic range
- Better shadow recovery
- Greater highlight detail
- Improved editing flexibility
Editing RAW images provides maximum quality without degrading the original photograph.
Correct Exposure First
Exposure is one of the first adjustments professionals make.
Improve:
- Brightness
- Highlights
- Shadows
- Whites
- Blacks
Balanced exposure creates a solid foundation before moving to advanced adjustments.
Master White Balance
Incorrect white balance makes photos appear too blue, orange, or green.
Adjust:
- Temperature
- Tint
- Neutral colors
Accurate white balance creates natural-looking skin tones and realistic landscapes.
Enhance Colors Professionally
Color correction is one of the most important professional photo-editing techniques for achieving stunning results.
Professional editors carefully adjust:
- Vibrance
- Saturation
- HSL sliders
- Color grading
- Split toning
Balanced colors produce vibrant images without appearing artificial.
Improve Contrast
Proper contrast adds depth and dimension.
Adjust:
- Global contrast
- Tone curve
- Midtone contrast
- Local contrast
Professional editors avoid excessive contrast that destroys image details.
Use Curves for Precision
The Curves adjustment is one of the most powerful editing tools.
It allows precise control over:
- Brightness
- Highlights
- Midtones
- Shadows
- Individual RGB channels
Mastering curves significantly improves editing quality.
Crop for Better Composition
Even an excellent photograph benefits from thoughtful cropping.
Popular composition rules include:
- Rule of thirds
- Leading lines
- Symmetry
- Negative space
- Golden ratio
Cropping strengthens visual storytelling.
Remove Distractions
Professional editors eliminate unwanted objects using:
- Clone Stamp
- Healing Brush
- Spot Healing Tool
- Content-Aware Fill
- Remove Tool
Removing distractions helps viewers focus on the main subject.
Read Also: Billionaire AI Prompt: The Professional Framework for High-Value AI Results
Professional Skin Retouching
Portrait editing requires subtle enhancement.
Common techniques include:
- Frequency Separation
- Dodge and Burn
- Blemish removal
- Skin smoothing
- Eye enhancement
- Teeth whitening
Professional retouching preserves natural skin texture instead of creating an unrealistic appearance.
Sharpen Images Carefully
Sharpening improves image clarity.
Professional editors sharpen:
- Eyes
- Hair
- Product edges
- Architectural details
Over-sharpening creates unwanted halos and digital artifacts.
Reduce Noise
Noise commonly appears in:
- Low-light photography
- High ISO images
- Smartphone photography
Modern software uses AI-powered noise reduction while preserving fine details.
Improve Backgrounds
Background editing helps emphasize the subject.
Popular improvements include:
- Blur distractions
- Remove clutter
- Replace backgrounds
- Adjust brightness
- Enhance colors
Clean backgrounds improve overall image quality.
Use Layer Masks
Layer masks provide non-destructive editing.
Benefits include:
- Selective adjustments
- Easy corrections
- Better workflow
- Greater flexibility
Professional editors rarely edit directly on the original layer.
Dodge and Burn Technique
Dodge and Burn enhances depth by selectively brightening and darkening areas.
Applications include:
- Portraits
- Fashion photography
- Product photography
- Landscape editing
This technique adds dimension while maintaining a natural appearance.
Apply AI Editing Wisely
Artificial Intelligence has transformed photo editing.
Modern AI tools can:
- Remove backgrounds
- Enhance portraits
- Replace skies
- Eliminate noise
- Improve sharpness
- Expand image borders
- Remove unwanted objects
AI accelerates editing, but manual refinements still produce the highest-quality results.
Maintain Natural Colors
One of the biggest mistakes beginners make is excessive saturation.
Professional editors aim for:
- Balanced skin tones
- Natural landscapes
- Realistic product colors
- Consistent branding
Natural colors create timeless photographs.
Create Consistent Editing Styles
Professional photographers develop recognizable editing styles.
Consistency includes:
- Similar color grading
- Matching contrast
- Uniform lighting
- Signature tones
A consistent visual identity strengthens personal branding.
Organize an Efficient Workflow
Efficient workflows save time.
Typical workflow:
- Import images
- Backup files
- Select best photos
- Basic adjustments
- Color correction
- Retouching
- Creative effects
- Sharpening
- Export
- Archive
An organization increases productivity.
Export Images Correctly
Export settings affect image quality.
Recommended settings:
Website
- JPEG
- sRGB
- Optimized compression
- TIFF
- Adobe RGB
- 300 DPI
Social Media
- JPEG
- Correct dimensions
- Optimized file size
Proper exporting preserves quality across different platforms.
Common Editing Mistakes
Avoid these frequent errors:
- Overediting
- Excessive sharpening
- Unrealistic skin smoothing
- Oversaturated colors
- Poor cropping
- Heavy HDR effects
- Ignoring color profiles
- Incorrect white balance
Subtle editing often produces the most professional results.
Best Practices for Professional Results
Follow these proven habits:
- Shoot in RAW.
- Calibrate your monitor.
- Work with non-destructive edits.
- Keep backups of original files.
- Use high-resolution images.
- Edit with purpose.
- Zoom in to inspect details.
- Take breaks to maintain objectivity.
- Compare before-and-after versions.
- Continue learning new editing techniques.
Future Trends in Professional Photo Editing
The future of editing combines creativity with intelligent automation.
Emerging trends include:
- AI-assisted retouching
- Cloud-based editing
- One-click professional presets
- Advanced object recognition
- Generative AI enhancements
- Real-time collaboration
- Faster GPU-powered processing
These innovations help professionals work more efficiently while maintaining creative control.
Frequently Asked Questions
Which software is best for professional photo editing?
Adobe Photoshop and Adobe Lightroom are industry standards for professional photo editing. Other excellent options include Capture One, Affinity Photo, Luminar Neo, ON1 Photo RAW, and GIMP.
Why should photographers shoot in RAW format?
RAW files retain more image data than JPEG files, allowing greater flexibility for adjusting exposure, colors, white balance, highlights, and shadows without significantly reducing image quality.
How can I make my photos look more professional?
Improve lighting, correct exposure, adjust white balance, enhance colors naturally, sharpen important details, remove distractions, and apply subtle retouching while maintaining a realistic appearance.
What is color grading in photo editing?
Color grading is the process of adjusting colors and tones to create a specific mood or visual style. It helps give photos a consistent and professional look.
How do AI photo editing tools improve editing?
AI-powered editing tools can automatically remove backgrounds, reduce noise, enhance portraits, improve sharpness, replace skies, and speed up repetitive editing tasks while maintaining high image quality.
What are the most common photo editing mistakes?
Common mistakes include over-editing, excessive skin smoothing, oversaturated colors, too much sharpening, incorrect white balance, heavy HDR effects, and poor cropping.
How important is non-destructive editing?
Non-destructive editing preserves the original image by using layers, masks, and adjustment tools. This allows changes to be modified or reversed without permanently affecting the original file.
How long does it take to learn professional photo editing?
Basic editing skills can be learned in a few weeks with regular practice, while mastering advanced techniques such as frequency separation, dodge and burn, and professional color grading may take several months of consistent learning.
Can beginners achieve professional-quality photo editing?
Yes. Beginners can create professional-looking photos by learning editing fundamentals, practicing regularly, using high-quality software, and applying subtle, consistent enhancements instead of excessive effects.
Conclusion
Mastering Professional Photo Editing Techniques for Stunning Results requires a combination of technical knowledge, artistic vision, and consistent practice. Every adjustment from exposure correction and color grading to skin retouching and sharpening contributes to creating visually compelling photographs.
By using high-quality editing software, working with RAW files, applying non-destructive techniques, and embracing AI tools responsibly, photographers can produce images that are both impactful and authentic.
